


FastAPI is the Python-based web framework used for building APIs. As the name suggests, it is one of the fastest Python frameworks available in the market. In its documentation, FastAPI has even been compared to NodeJS and Go based on its performance.
Some of the biggest advantages of FastAPI (of course other than its performance) is that by using it, developers can start building APIs just in a few lines of code as well as it supports asynchronous views without installing any third-party package.
Pre-requisites for getting started:-
Python (>= 3.6) - The most basic requirement for getting started with FastAPI.
FastAPI - The framework itself.
Uvicorn - The ASGI server that in this case is used to run the FastAPI application.
Note - FastAPI uses ASGI server as it supports asynchronous views.
Once the above mentioned requirements are successfully installed in the system, one can safely get started. Though as the app gets more complex, developers will need to install several more packages for different purposes. Some commonly used packages in FastAPI are:-
Pydantic (for building schemas that handle CRUD operations).
SQLAlchemy (for building models to facilitate communication between python and database).
Note - SQLAlchemy is commonly considered superior to Django-ORM.Passlib (for encryption and decryption purposes).
Python-Jose (for generation and verification of JWT tokens).
Using above mentioned packages and with the help of the "easy-to-understand" documentation of FastAPI, developers can easily build complex applications.
Other than the amazing features mentioned above, FastAPI also comes with in-built support of famous API documentation tools such as Swagger UI and Redocly (or Redoc) which makes it super-easy for programmers to interact with the developed APIs.
Let's build an API to understand more:-
The above-written theory can give you a good explanation of why FastAPI is worth the popularity it has gained in the market. Now, let's together build a demo application step-by-step and understand how it works. I am going to use VS Code for writing the code and Swagger UI to show the result (images will be shared at the end of the article). Also, it's common sense that Python must be pre-installed so I clearly won't be mentioning that in the steps below. So, let's get started...
1. Installing FastAPI:-
FastAPI along with its required packages to start with can be installed with the command written below:-
pip install fastapi[all]
The code written above installs both FastAPI and Uvicorn at once. We can also go ahead and install them separately using the commands written below:-
pip install fastapi
#installs fastapi

pip install uvicorn[standard]
#installs uvicorn
2. Importing FastAPI and instantiating it:-
We need to create a python file to get started most simply. The name of this file can vary according to one's comfort. In my case, I will follow the naming conventions and save the file as "main.py".
from fastapi import FastAPI
#imports fastapi

fast_app = FastAPI()
#instantiating FastAPI
In the above code, we have imported the FastAPI module from the 'fastapi' package and have instantiated it to the variable 'fast_app'. Now, we will use this instantiated variable to get ahead with our application.
3. Writing our first API:-
Decorators are tools in python that can be used to modify the working of a function or class without changing its structure. Here, the "path operation" decorator is used to define the URLs for the application.
Following the URL defined, we write the view of the API just below the decorator. The code below shows the function and URL definition of the API that is for the homepage.
@fast_app.get("/")
def homepage():
    return {
                "msg":"Homepage of the application."
            }
4. Running our application:-
After writing our first API, we can safely go ahead and run the application using the uvicorn command in the terminal (or bash). The command syntax will be:-
uvicorn {file name}:{instantiated variable name} --reload
So, the command to run our application will be:-
uvicorn main:fast_app --reload
The '--reload' helps the app to auto-reload as any change is made in the application code and can be safely removed from the command in case this feature is not required.
If the command runs successfully, the terminal should give result like shown in the image below
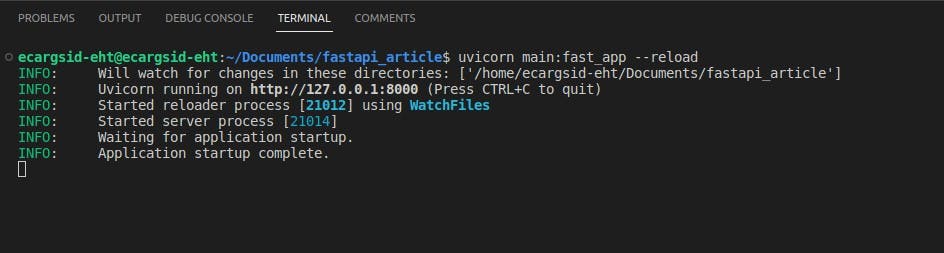
The "application startup complete" response tells that the application is now successfully running on the host "http://127.0.0.1:8000" or "localhost:8000". We can simply go to this URL to check the response of the application. But, we will instead use the in-built Swagger UI tool provided with the FastAPI.
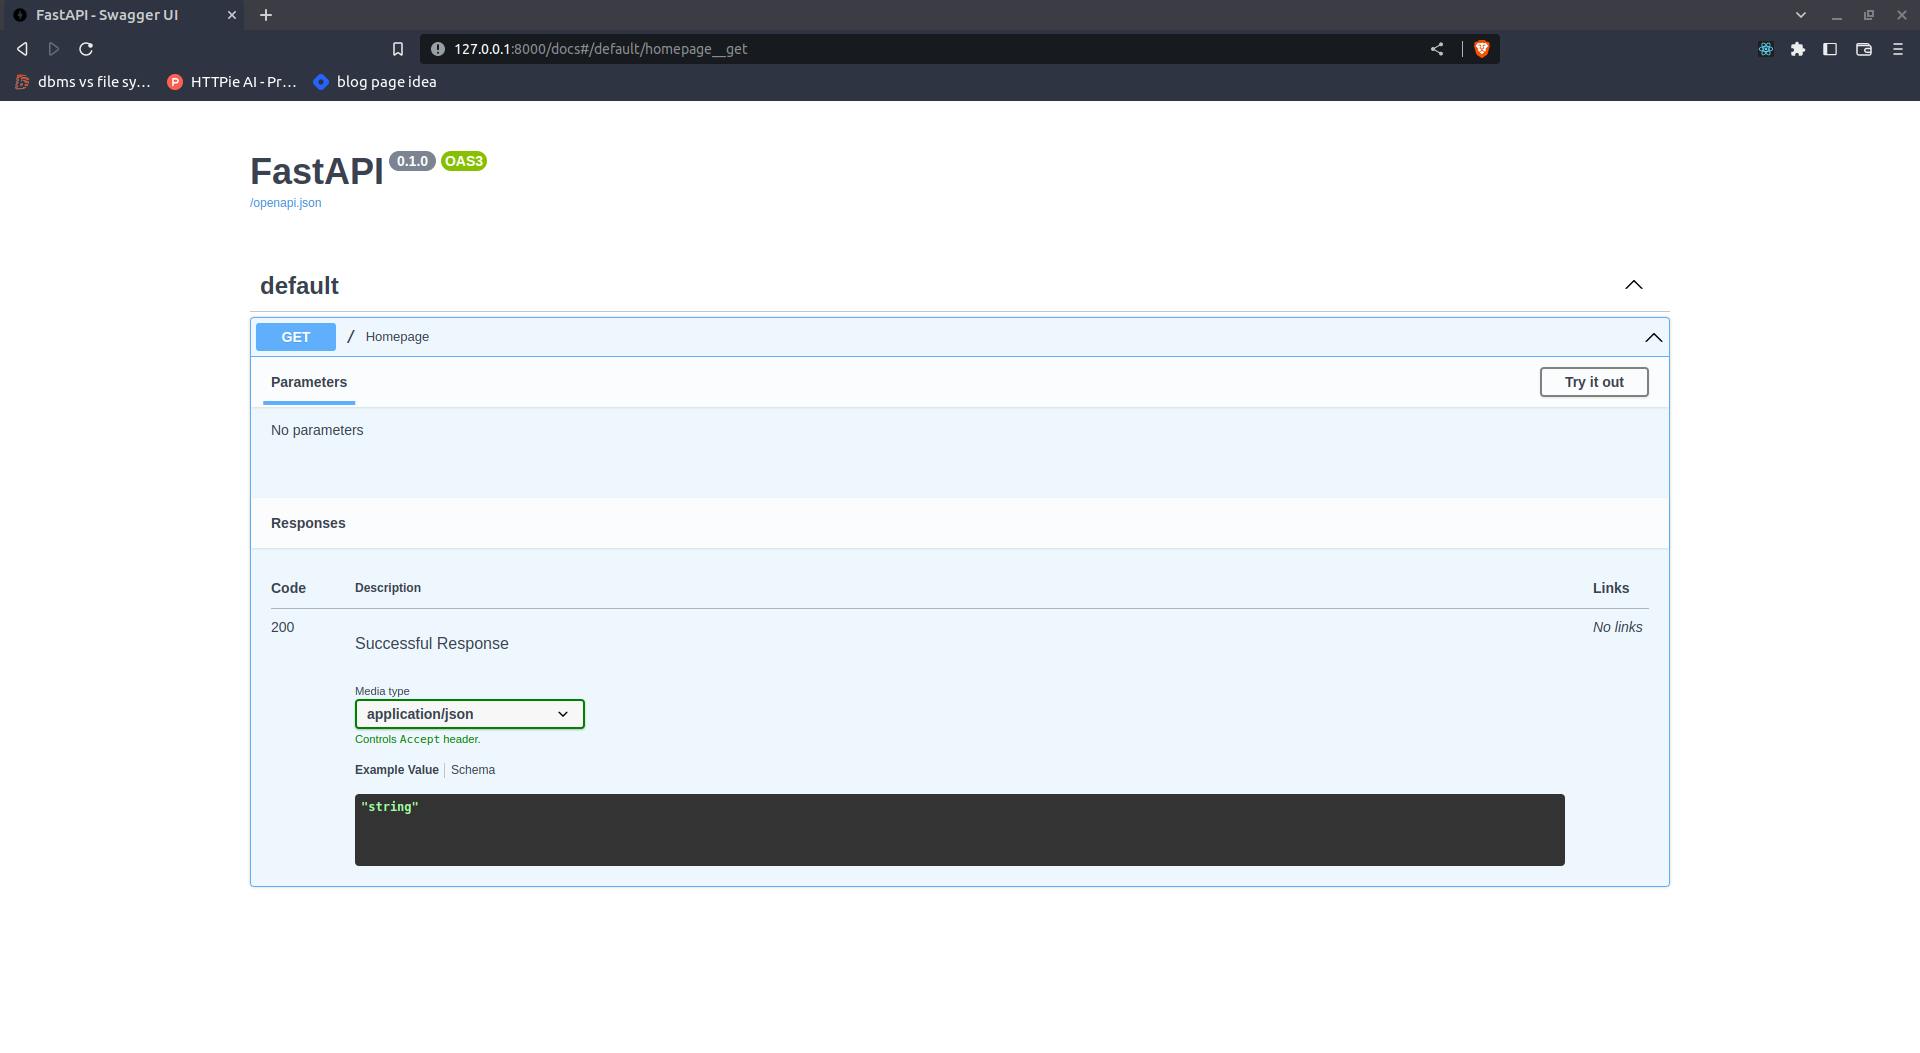
5. Checking API response on Swagger UI:-
We can use the Swagger UI by going to the URL "127.0.0.1:8000/docs" to check the API response. The Swagger UI will look like this:-
We can now use the "Try it out" button to try the API that we have created. The response will be shown as in the image below:-
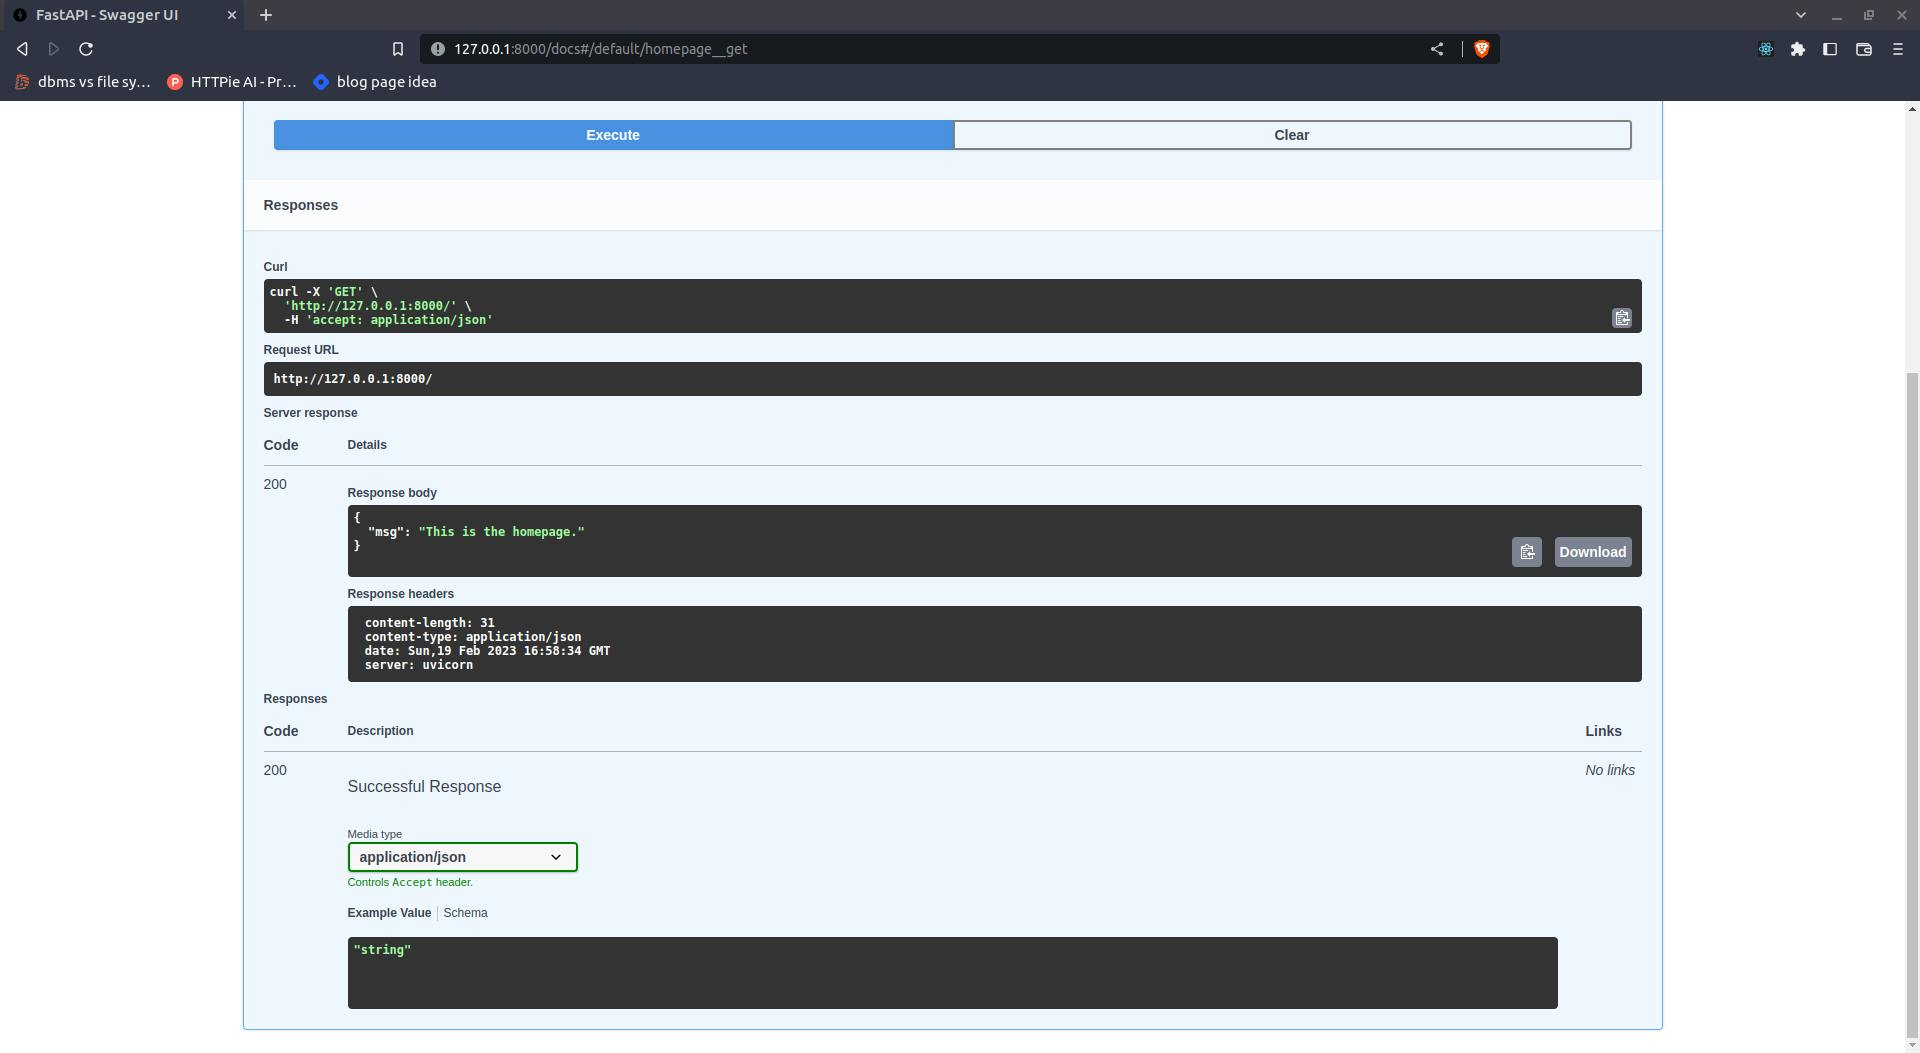
The response of the API can be seen under the "Response body" column. As we can see the response has returned with the status code 200 which shows the successful execution of API.
Conclusion:-
The major purpose of this article is to make you understand the worth of FastAPI among its competitors and giving you a basic understanding of the way of writing code in a FastAPI application.
So, thanks for giving your time in reading this article and I hope this clears all of your beginner-level doubts.